Customizing Autoblocking
|
Applies to: WordPress Plugin + Admin Portal WP Admin: Protection tab > Tracker Status (read-only)
|
Overview
Compliance by Hu-manity.co comes preset with a list of Providers and URL Patterns organized by purpose category. URL Patterns allow the autoblocking feature to identify and hold any non-essential scripts or iFrames until a positive consent is recorded.
The preset list covers many common website services. If you do not see a provider in any category, you can add it with its URL patterns.
Viewing Trackers in WordPress Admin
In WordPress admin, open Compliance by Hu-manity.co > Protection tab. The Tracker Status panel shows a read-only view of your autoblocking configuration — which providers are active on your site and their categories.
The WordPress admin does not support adding, editing, or deleting providers. To manage providers, click the Manage trackers in portal link in the Protection tab to go directly to the portal Autoblocking page.
Managing Providers in the Admin Portal
Full provider management is done in the hu-manity.co portal at app.hu-manity.co → Autoblocking. Here you can:
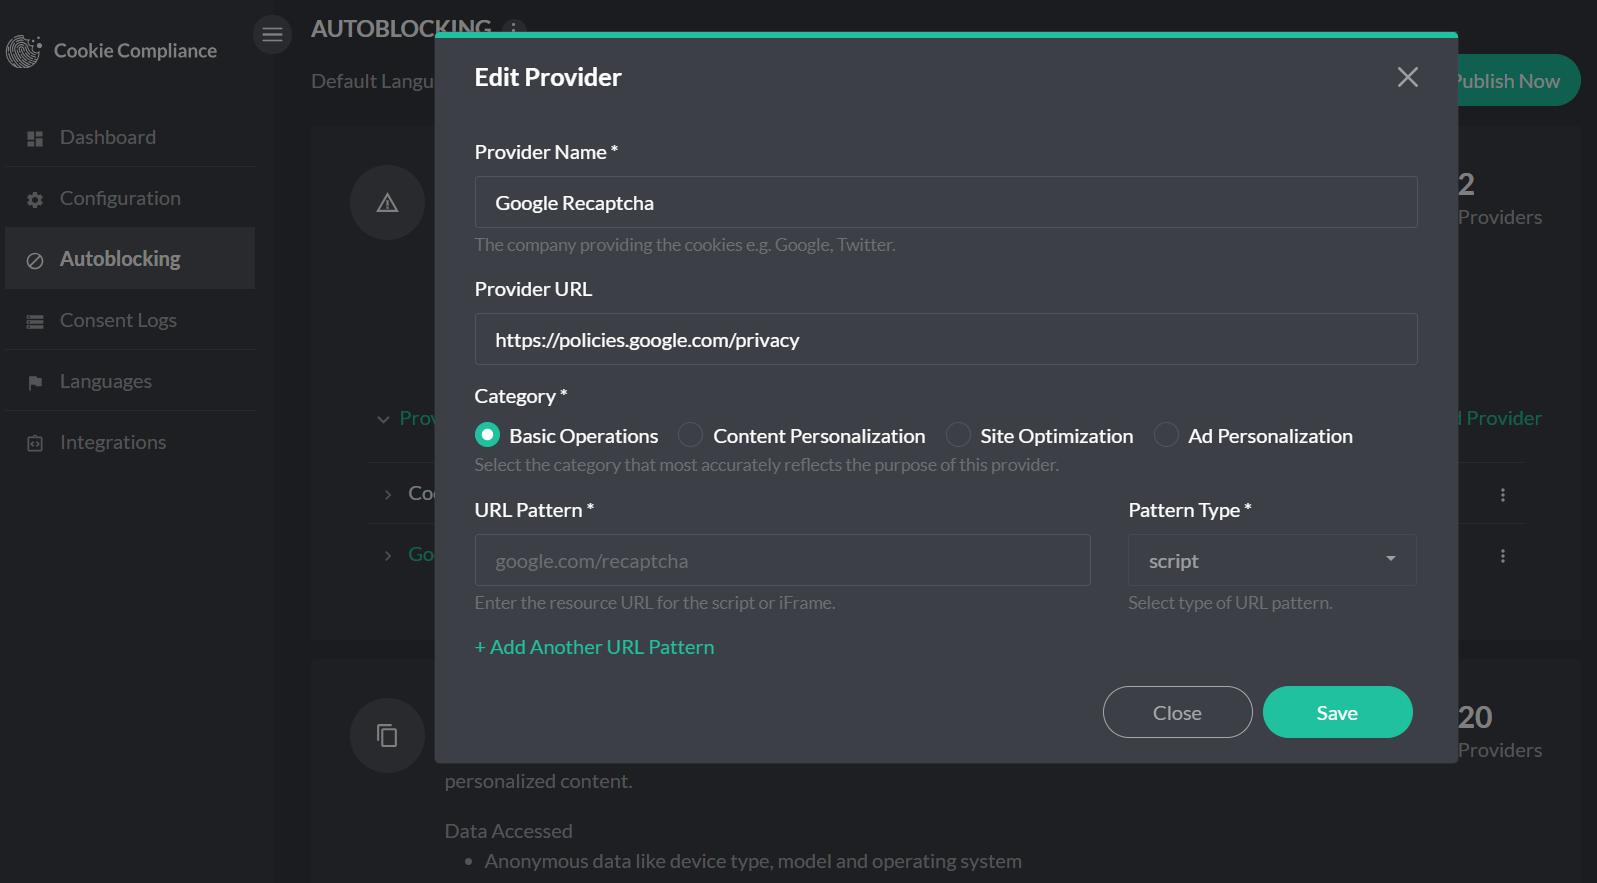
- Add a provider — Click + Add Provider, enter the provider name, and add its URL patterns.
- Edit a provider — Change a provider’s name, URL patterns, or purpose category.
- Recategorize a provider — Move a provider between purpose categories (e.g., from Content Personalization to Basic Operation).
- Delete a provider — Remove a provider and its URL patterns entirely.
Quick Reference: Where to Do What
| Action | Where |
|---|---|
| View tracker list | WP Admin: Protection tab |
| Add new provider | Portal: Autoblocking |
| Edit provider / URL patterns | Portal: Autoblocking |
| Recategorize provider | Portal: Autoblocking |
| Delete provider | Portal: Autoblocking |
| Refresh tracker data in WP | WP Admin: Pull Configuration |
Example: Recategorizing reCAPTCHA (Professional Plan)
Google reCAPTCHA is often categorized under “Content Personalization,” which causes it to be blocked until consent is given. To ensure reCAPTCHA always loads, recategorize it as “Basic Operation.”
Step 1: Update the Category in the portal
- Open the portal at app.hu-manity.co → Autoblocking (or click Manage trackers in portal from the WP admin Protection tab).
- Find the Google reCAPTCHA provider.
- Change its category from Content Personalization to Basic Operation.
- Save the change.
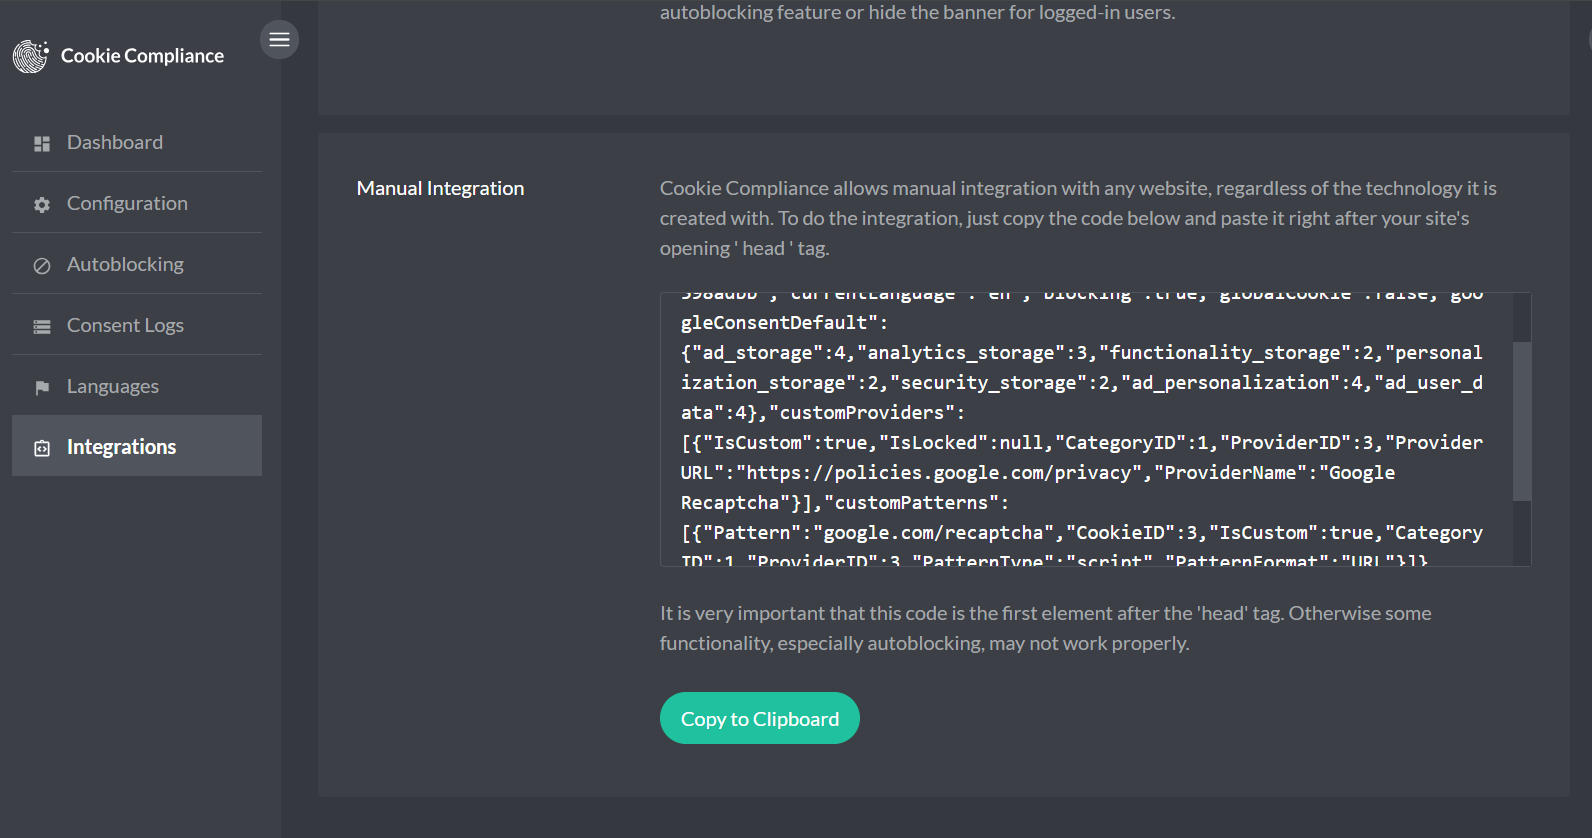
Step 2: Update Your Site Script
After saving the category change in the portal:
- Go to the Integrations page in the portal left-hand menu.
- Copy the newly generated script.
- Replace the existing script implementation on your website with this updated version.